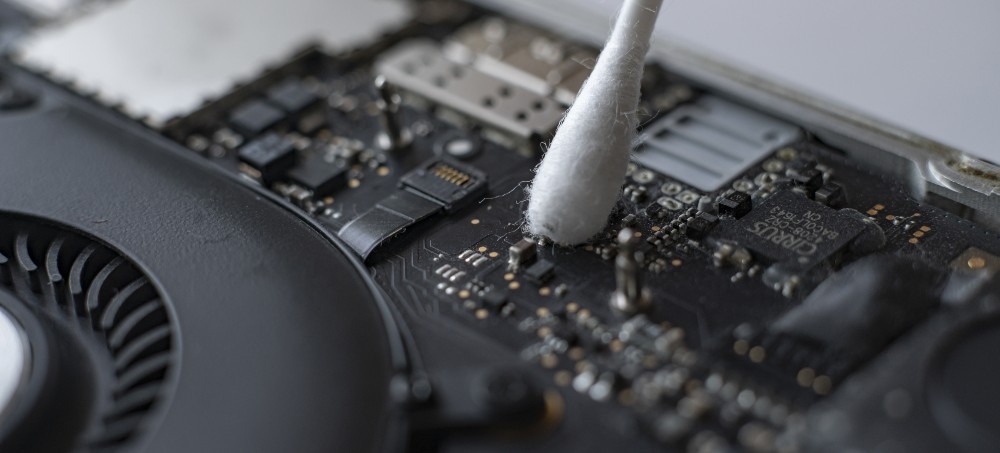
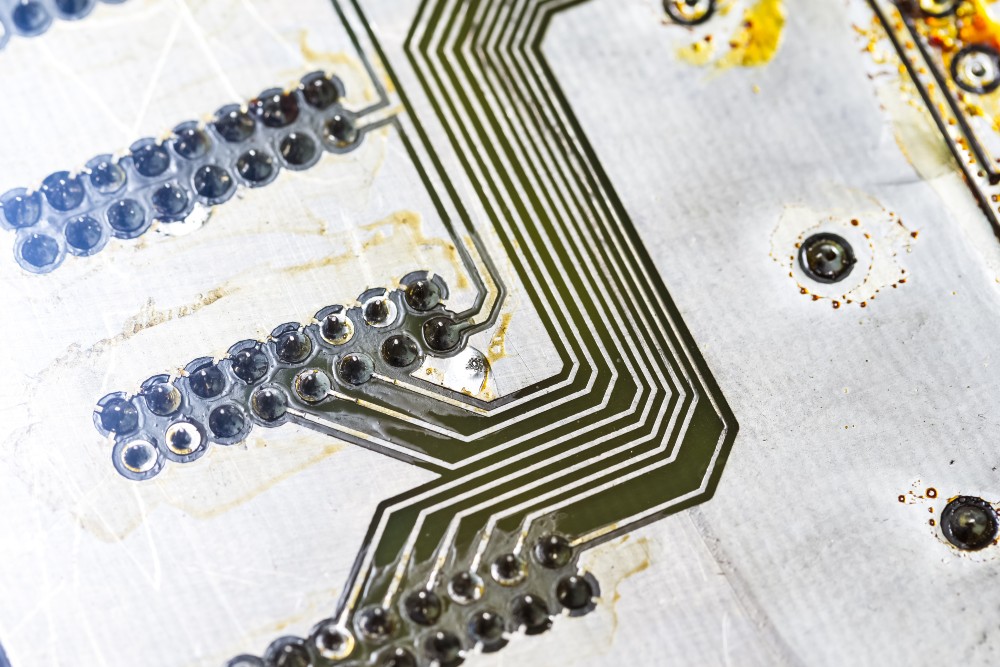
Over time — during the manufacturing, testing, and storage phases — your printed circuit boards (PCBs) collect dust, debris, and liquid.
When contaminants of any sort or in any amount come into contact with PCBs, it leads to corrosion, overheating, and damage.
Printed circuit boards must be cleaned to prevent future malfunctions and keep them working efficiently.
Continue reading to learn how dirt gets on PCBs, how it affects them, and how to clean them.
The Various Types of Contamination
The most common types of contaminants that get on your printed circuit boards can be separated into two categories: wet and dry. If you are in the PCB manufacturing, design, or engineering industry, understanding each different type of contamination and how to remove it is crucial.
Wet Contamination
Wet contamination can happen when boards are not stored properly and moisture builds up — or when the boards endure high temperatures. When this happens, their wax coating begins to melt and becomes an instant attraction for dirt, creating liquid grime.
Another possible way to accrue wet contaminants is by applying too much flux when cleaning the metal surfaces on your board of oxides.
These wet contaminants can build up and cause connectivity issues once the contaminants reach the PCB’s pins. Wet contaminants can also act as a prominent conductor, causing circuits to short out.
Dry Contaminants
Dry contaminants consist of dirt and dust.
Dust and dirt can land on your PCB if it’s assembled in a dirty facility, sits in storage too long, or gets handled improperly.
Dry contaminants can cause many issues like speed and performance hindrances, overheating, corrosion, and signal interference.
These tend to be easier to clean and manage than wet contaminants.

What Causes Dirty PCBs
A printed circuit board undergoes a ton of movement during the manufacturing, assembly, and shipping process, which leaves many opportunities for dust or wet contaminants to stick onto each board.
Improper storage or transportation can also lead to dirty printed circuit boards.
A filthy environment can cause dry contaminants to build upon your PCB, which is why cleanrooms are used in the manufacturing process.
Cleanrooms remove particles, contaminants, and pollutants from outside ambient air. The air is circulated into a filter system (HEPA or ULPA) that decontaminates the air and blows it back into the cleanroom.
This process shows how important it is to keep wafers, boards, and components clean.
Cleanrooms and any other area where PCBs are housed should be treated with extreme caution. Ensure that anyone who enters or handles the boards wears a bunny suit and that no food, drink, or potential contaminants enter the area.
A common problem during the production process of printed circuit boards is residue buildup. When flux residue is left on the board’s components after soldering, it causes conductivity issues and signal interference.
Using your PCB improperly can also cause board contamination. Circuit boards are incredibly delicate. Any storage or shipping containers that house printed circuit boards should have proper ventilation to regulate heat and moisture.
How To Clean Your PCB
The method you use to clean your boards depends on the type of contamination your circuit board endures.
It’s essential to be extremely careful while cleaning dirty PCBs. One small mistake can damage your PCB forever, with no hope of salvaging it.
Before cleaning beings, make sure cleaning is necessary. In some instances, oxidation occurs that warps the board’s look but doesn’t cause any malfunctions. If you’re planning to clean your printed circuit boards for aesthetic purposes, you should consider if it is worth it; any small mishap during cleaning has the potential to ruin the board altogether. 
To remove dust and dirt, use a soft-bristle toothbrush to carefully remove the dirt from the circuit board. A light air compressor to remove the dust will work too. Be careful not to use hard bristle toothbrushes or powerful air compression — they could knock components and wires out of place.
In order to remove grime, you will need to remove specific components to thoroughly clean the board and prevent damage to these components. Make sure to take note of where these components are located so you can easily solder them back when you are done.
After removing these components, use a non-phosphate solution to clean the grime. Let it sit for about ten seconds to loosen the grime, then scrub it with an old toothbrush. Then, rinse and lightly dab the board with a clean cloth.
To remove flux, soak a toothbrush in anhydrous alcohol and lightly scrub the affected areas.
If you notice electrolyte corrosion on your PCB, it’s crucial to stop the spread and clean the affected area immediately. To do this, mix baking soda and water to create a light paste. Place it on a toothbrush and apply it to the affected area. Let the mixture soak to make sure the corrosion is neutralized. After you finish, follow up with the grime removal process.
Protect the Quality of Your PCB
Whether you’re refurbishing a printed circuit board or one of your own needs cleaning, doing so properly will ensure your electronic devices function as they should.
Various types of contaminants must be removed using specific cleaning methods. Remember that it’s vital to handle all components and boards with extreme delicacy during the cleaning process so that you don’t damage the PCB past the point of no return.
Following this guide to cleaning your PCB will ensure that your circuit boards stay in great shape long into the future.
_________
Looking for an electronics manufacturer to help out with PCB production? Here are characteristics to look for in an EMS.
