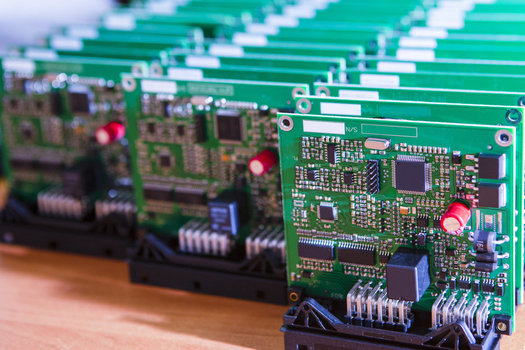
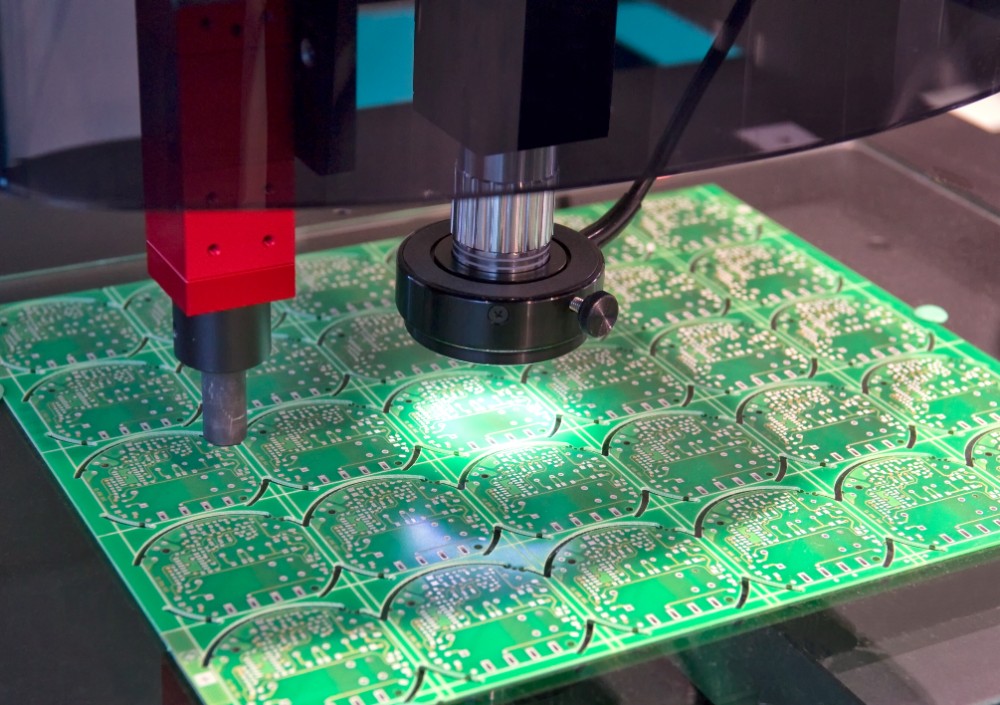
A printed circuit board (PCB) is the board that uses conductive traces and other features etched into the copper foil to electrically connect electronic devices. These boards give electronic devices the ability to function smoothly through the easy movement of electric power. Printed circuit boards need to be engineered, then printed before they can be assembled so they can function within the device.
What is PCB Assembly?
After designing and printing the circuit boards, they have to be connected so the electric messages can be properly sent between them. Wiring them together is what makes the electronic device function.
Things Needed for Printed Circuit Board Assembly
To get your PCB manufacturing strategy to work properly, you need to make sure you have all the necessary parts. You will need several components, as well as a plan that tells you where to put everything.
Circuit Board
You can find these at electronics supply stores, or you can make them yourself. They are also for sale online in various sizes and shapes and sold in multipacks.
Basic Electronic Components
These include items like diodes, capacitors, resistors, logic gates, and transistors. If you are just getting started PCB assembly, you might consider buying a kit that includes several types of components. These kits come in different degrees of complexity, with some built for beginners and others for experienced circuit-board assemblers. You can find these components online and at electronics and hobby stores.
Soldering Materials
Soldering materials are also available for purchase online and at hobby stores. You will most likely need solder wire, paste, bars, and balls. Depending on the soldering you have to do, you might also need solder preforms.

Soldering Flux
Soldering flux is a chemical you can use to clean the circuit board before you begin soldering. Flux removes oxides and other unwanted contaminants from the board. There different types of flux that come in liquid, paste, and pen form. You can find these for sale at hobby shops and online, too.
Soldering Equipment
You will need a soldering set, which includes a station, wave soldering iron, SMT equipment, and inspection and testing equipment, too. You should also have protective gear like goggles or long-sleeve shirts. These are available at hobby stores, electronic shops, and online.
PCB Assembly Process: Stages of PCBA
Once you have all the components, it’s time to build your circuit board. Each step is dependent upon the previous one. Each step is necessary to build a board that works, and they should not be done out of order. Here are the steps for the PCB assembly process:
Solder Paste
The first stage is called solder paste because that is what needs to be applied to the board where you will be soldering. The solder paste includes some solder grains combined with flux. You place a solder screen on the board, then put some solder paste through the holes directly onto the board.
Pick and Place
After you’ve placed the solder paste on the board, you then use a machine to pick components and place them in the correct spot on the board. The pieces stay in place due to the solder paste. Some machines will hold the components in place with a dab of glue, which is recommended for wave soldering. If you do not have a machine to do this for you, you can do it by hand. Components need to be precisely placed, as the small routes between determine the way that each electronic device works.
Soldering
After the components are correctly placed, soldering comes next. This can be done by hand or with a wave soldering machine.
 Inspection
After soldering, circuit boards need to be inspected. If the board is complicated, then an automatic optical inspection needs to be done. On a simple board, you can do the inspection looking for misplaced components or other problems.
Test
Circuit boards need to be tested. There are several ways to do this. Machines can do it, and there are manual ways to test the boards, too.
Feedback
If you are assembling a PCB with a machine, failures need to be quickly detected and repaired, ideally at the inspection stage. If you are doing this on your own and your board does not work, you might have to start on a new one and make necessary changes to avoid failures.
Three Ways to Assemble PCBs
Printed circuit boards can be assembled in three different ways. They all require the same components and steps, but the process is done with subtle differences.
Surface Mount Assembly (SMT)
With surface mount assembly, the components have metal tabs so they can be efficiently soldered to the PCBs. With effective soldering methods, the SMT technique allows for higher circuit densities when components are soldered to both sides of the PCBs. This process is best with components that do not have leads or legs.
Plated Through-hole technology (PTH)
With plated through-hole technology, components have leads attached to them. When you use this form of assembly, you will need a PCB that has drilled holes. This is a popular choice because it keeps the components stable. Although it can make the boards look a bit messy with all of the leads and legs going through the holes.
Electro-mechanical assembly
This assembly style is also called box-build assembly. It includes more components, like wire harnesses, looms, and custom metalwork. These boards are more complex in design and can also include cable assembly and molded plastics along with the electrical components.
PCB as a Hobby
While many manufacturers take great pride in their precise PCB assembly skills, there are people all over the world who enjoy making circuit boards as a hobby. It does take practice to get it right, but the hobby lets you merge design, math, and science in a useful and rewarding way.
PCB assembly has several stages that are necessary to create an integrated electronic board. Each step should be done with care, both for the board and components and for yourself. The stages of assembling a PCB require precision and accuracy to ensure that the electronic device they are for functions properly.
