Manufacturing a printed circuit board (PCB) takes precision and accuracy to ensure that all of the extremely small components are appropriately fixed on the board. Without the right tools and PCB equipment, high-precision PCB assembly would be impossible.
There’s a lot of strategy that goes into the production of a PCB with several stages of assembly. Recent improvements in PCB manufacturing equipment has changed the process significantly, so it’s important to stay up to date with emerging best practices.
Let’s take a look at the key equipment necessary for PCB assembly and how they are used for the process.
Solder Paste Printing Machine
In order to attach the many small components used in PCBs to the board, producers need a form of glue known as a PCB soldering paste. This glue holds components on the board together so that they don’t come loose easily.
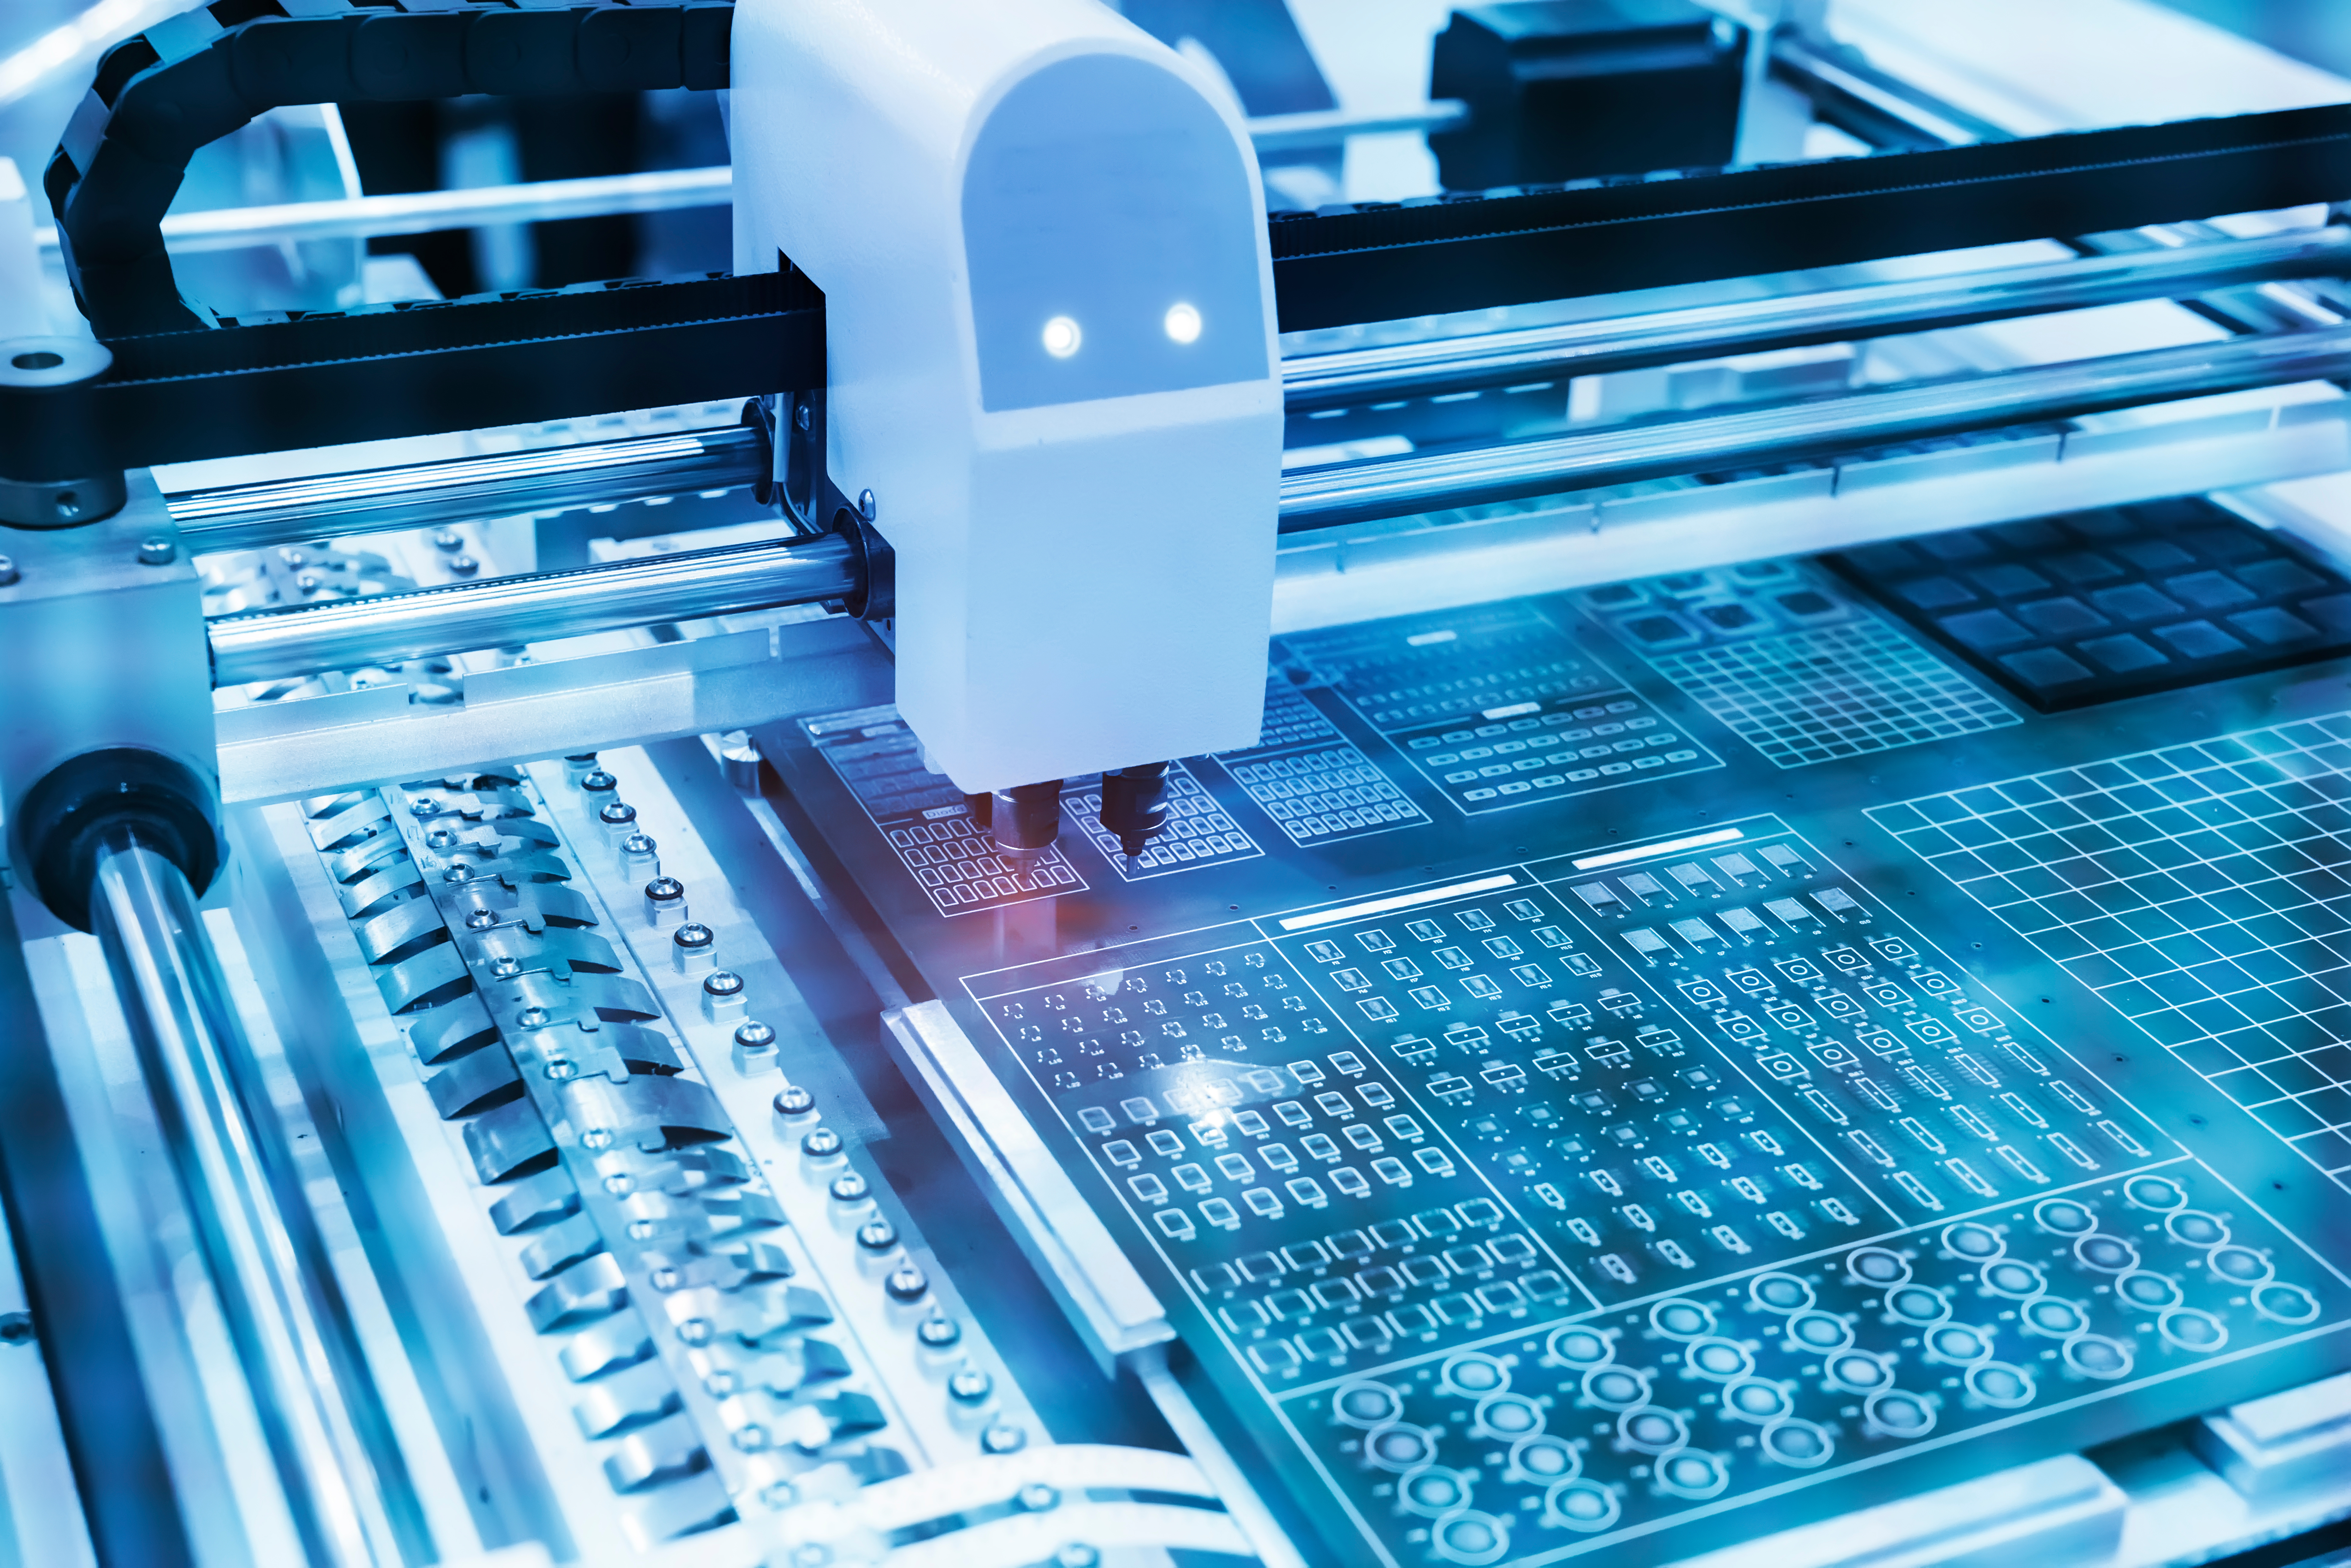
The first step in PCB assembly is applying this solder paste on the board. The paste is a grayish substance that is formed by mixing metal alloy — usually created using tiny particles of tin, silver, and lead.
Before anything else, the PCB is placed beneath a PCB stencil, which is a laser-cut stainless steel sheet that marks where components of the PCB will be placed. The solder paste is then spread across the cuts outlined on the stencil, otherwise known as SMD pads.
To ensure the paste is accurately applied, the PCB and stencil are locked in place inside the automated paste printer and a blade moves across the stencil to spread the paste evenly. After this is done and the stencil is removed, the PCB is left with solder paste in all the right places.
Solder Paste Inspection
Sometimes, solder paste is improperly applied during the paste application. In fact, 70% of PCB issues are traced back to substandard or improper paste application. That’s why the inspection of the solder paste is a critical step in the process.
If only a small quantity of PCBs are needed, a manual solder paste printing method should suffice for accurately stenciled boards. However, if large batches are needed, an automated solder paste inspection is necessary to ensure that everything is done right and on time. Without the inspection step, costs of reworking PCBs will likely accrue.
A solder paste inspection machine usually has cameras that can capture and produce 3D images that help to decipher the quality of the solder paste job. It evaluates the quality of the PCB by checking the soldering volume, height, and alignment, quickly identifying imperfections so that manufacturers can remedy bad PCBs before they’re integrated into a device.
Pick-and-Place Machine
One of the most interesting aspects of PCB assembly is working with the pick-and-place machine. The machine functions just like the name suggests — it picks up the tiny components to be assembled on the PCB and places them where they should be on the board.
Each stage in PCB assembly was once done by human hands. A human PCB assembler would pick up the board components with a tweezer and arrange them on the board very carefully.
As demand for PCBs increased, manufacturers began implementing automated pick-and-place machines that perform the function faster and more accurately. The result is faster production output so that manufacturers can meet a larger volume of orders. Pick-and-place machines are more accurate and work nonstop. Some machines can pick up to 30,000 components in as little as one hour.
Glue Dispensing Machine
Like we mentioned earlier, solder paste must be applied to the PCB before components can be fixed atop it. To achieve this quickly, a glue dispensing machine dispenses tiny dots of glue onto the board where the PCB components will rest before the final soldering of the lead.
This step is also important because of the wave soldering procedure, where larger PCB components may be dislodged due to excessive force.
Wave Soldering Machine
The wave soldering machine is another piece of PCB manufacturing equipment that assemblers cannot do without for large-scale operations. For components to remain firmly in place, it’s important for the PCB to pass over a wave of molten solder. This is how the equipment got its name.
As the wave soldering process begins, a flux layer is applied onto the surface of the board when it enters the machine. This flux layer helps to clean the board’s contacts properly so that the soldering can adhere firmly.
Next, the board is preheated. The PCBs are passed beneath a solder wave that has been set up. In the machine, only the underside of the PCB comes in contact with the wave so that the components connect properly with their holes and pads.
Reflow Soldering Machine
Reflow soldering is the most popular soldering technique in PCB assembly because it solders the small components used in today’s PCB assembly more precisely than the wave soldering process. After setting all components on the PCB, the assembler passes it through a reflow soldering machine that looks like a long, giant oven.
The board is passed through a conveyor that heats up intermittently under a controlled temperature as it passes through the different zones in the machine. This controlled heat melts and hardens the solder paste steadily, forming well-connected components on their various solder pads.
Reflow wave soldering is better for more difficult assemblies, has a high welding quality, and is excellent for mass production.
In-Circuit Testing
After components have been soldered onto PCBs, it’s time to test the functionality of the board. “Bed of nails” or “in-circuit” machines are widely-used pieces PCB manufacturing equipment used to test that PCB components are connected correctly.
In-circuit testing machines are made up of various spring-loaded pogo pins arranged in such a way that each one can make contact with nodes in the circuitry of the PCB. Every finished board is placed atop the bed of nails and then pressed down so that the pins make contact with the many test points on the PCB.
The test points quickly transmit signals out of the PCB, telling the assembler where there are breaks in electricity or shorts. These tests may create tiny pinpoint dots on the soldered parts. This means the manufacturer has thoroughly assessed the PCB before distribution.
Functional Validation Test
The last step in PCB assembly is the functional validation test (FVT). It tells the manufacturer whether the PCB is fit to be shipped or not. Here, the assembler is no longer searching for physical manufacturing errors, but whether the PCB will function according to the purpose it was designed for.
To do this, the manufacturer loads software that simulates the final operation environment where the PCB will be used. The most common of these tests are known as hot mock-ups. Each of these tests are unique, depending on the product the PCB will be used for.
Find a PCB Manufacturer With the Right Tools
PCBs are essential fixtures used to ensure the accurate performance of many electrical gadgets. Assembling all of the tiny components on the PCB accurately is absolutely crucial to create gadgets that function properly.
There are many stages of PCB assembly, and each of these stages requires the right PCB manufacturing equipment for error-free production. The PCB equipment we’ve listed above ensures the components stay glued in their accurate positions, and then help to conduct a series of tests to ensure nothing is amiss.
Now that you are familiar with the tools involved with PCB manufacturing, learn about the different chemicals involved in PCB assembly.